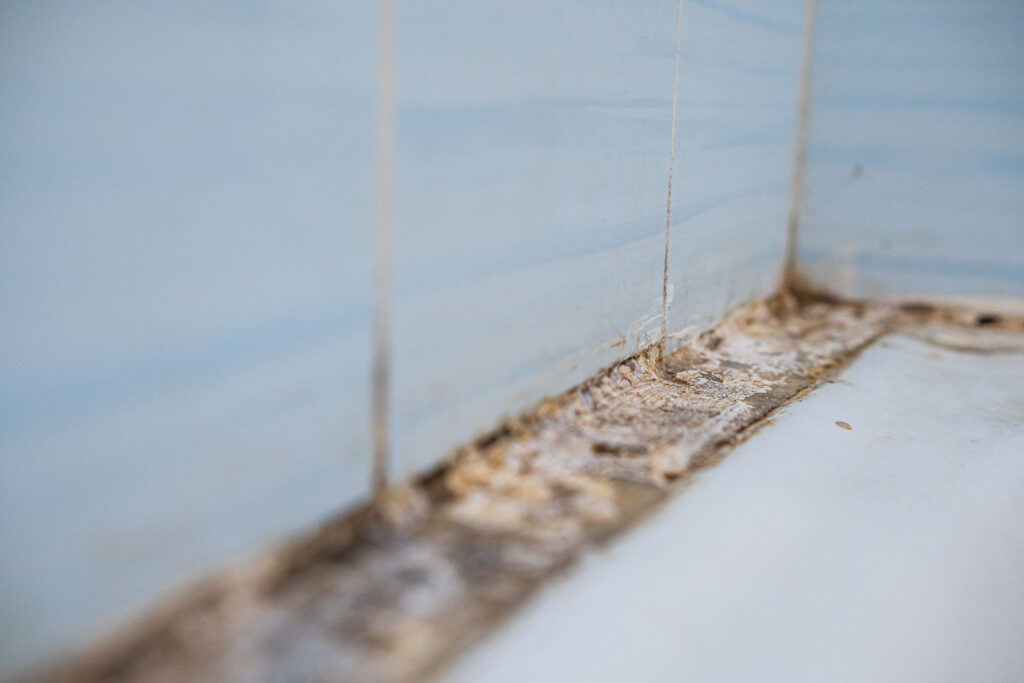
Mouldy bathroom sealant is a common problem in UK homes, especially around baths, showers, and sinks. Even with regular cleaning, black mould often returns because it grows inside the sealant itself, not just on the surface.
When this happens, cleaning alone isn’t enough. Replacing the old sealant is usually the most reliable way to stop mould coming back.
If mould is also appearing on ceilings or window frames, read why your bathroom ceiling gets mouldy or how to stop condensation on windows — ongoing moisture is usually the root cause.
This guide explains exactly how to replace mouldy bathroom sealant step by step, what tools you need, and how to get a clean, long-lasting finish.
Why Bathroom Sealant Becomes Mouldy
Bathroom sealant is constantly exposed to:
- Moisture
- Warm air
- Soap residue
- Poor airflow
Over time, mould spores embed into microscopic pores in the silicone. Once mould grows within the sealant, surface cleaners can’t remove it fully — even if it looks better temporarily.
Sealant that stays damp for long periods is far more likely to go mouldy again. That’s why ventilation matters just as much as replacing it.
What You’ll Need
Most people already have most of these items:
- Sealant removal tool or sharp craft knife
- Mould remover or white vinegar
- Cloths or paper towels
- Mild cleaner or rubbing alcohol
- Sealant gun
- High-quality anti-mould bathroom sealant
If you’re unsure which product to choose, see Best Flexible Silicone Sealants (UK) for options suited to bathrooms.
Allow enough time so the area can fully dry before resealing.
Step-by-Step: How to Replace Mouldy Bathroom Sealant
Step 1: Remove the Old Sealant Completely
Cut carefully along both edges of the sealant bead using a removal tool or sharp blade.
- Peel it away in strips where possible
- Remove all old sealant — leftover fragments can cause mould to return
- Take your time to avoid scratching tiles or the bath
Any remaining silicone will prevent new sealant from bonding properly.
Step 2: Clean the Area Thoroughly
Once the old sealant is removed:
- Clean away any visible mould residue
- Remove soap scum and dirt
- Wipe the area with alcohol or cleaner to remove grease
The surface must be completely clean before resealing.
If heavy mould was present, consider using a suitable mould remover first. See Best Mould Remover Spray for Window Frames for guidance on safe mould removal products (many are suitable for bathroom use too).
Step 3: Let the Area Dry Fully
This step is critical.
- Leave the area to dry for several hours (longer if needed)
- Use ventilation to speed up drying
- Do not seal over damp surfaces
Moisture trapped under new sealant is one of the most common reasons mould returns quickly.
If your bathroom struggles to dry after use, see Best Bathroom Ventilation Fans for UK Homes.
Step 4: Apply the New Sealant
- Load the sealant into the gun
- Cut the nozzle at a slight angle
- Apply a steady, even bead along the joint
- Smooth using a finishing tool or damp finger
Work slowly for a neat, consistent finish.
Avoid applying too much at once — neat application reduces future water pooling.
Step 5: Allow the Sealant to Cure Properly
Follow the manufacturer’s recommended drying time.
- Avoid using the bath or shower until fully cured
- Prevent water contact during curing
- Maintain ventilation
Proper curing ensures the sealant bonds correctly and lasts longer.
Can You Seal Over Old Sealant?
No — this usually causes problems.
New sealant won’t bond properly to old or mouldy silicone. Even if it looks tidy at first, mould often returns quickly because moisture remains trapped beneath.
Removing old sealant completely gives the best long-term result.
How to Stop Mould Coming Back
Replacing sealant helps, but preventing mould depends on moisture control.
To reduce recurrence:
- Run the extractor fan during and after showers
- Keep steam contained in the bathroom
- Wipe down wet surfaces after use
- Improve overall ventilation
- Maintain steady background heating
If condensation appears elsewhere in the home, see How to Stop Condensation on Windows — controlling humidity throughout the house reduces repeat problems.
Using a high-quality anti-mould bathroom sealant also makes a significant difference.
What Type of Sealant Should You Use?
Always choose a high-quality anti-mould bathroom silicone sealant designed for wet areas.
Look for:
- Anti-fungal additives
- Flexible, waterproof formulation
- Designed for kitchens and bathrooms
- Good adhesion to ceramic and acrylic surfaces
Cheap sealant often discolours or fails sooner, especially in poorly ventilated bathrooms.
When to Consider a Bigger Issue
Sealant replacement won’t fix:
- Active leaks behind tiles
- Water tracking from above
- Structural movement causing gaps
- Persistent condensation throughout the house
If mould keeps returning quickly despite correct ventilation and proper resealing, the problem may be humidity-related rather than sealant-related.
Final Thoughts
Replacing mouldy bathroom sealant is a straightforward DIY job that can dramatically improve how your bathroom looks and smells.
But the long-term success depends on moisture control.
Clean thoroughly.
Dry completely.
Ventilate properly.
If you fix the moisture source as well as the sealant, the problem rarely returns.