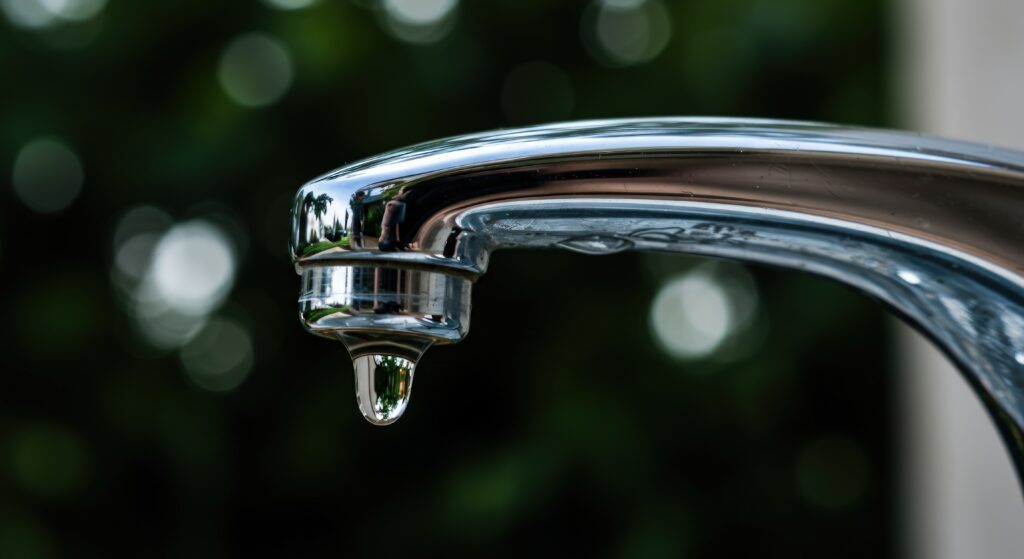
A leaking tap is one of the most common household problems in UK homes. Even a slow drip can waste water, increase your bills, and become increasingly annoying over time.
The good news is that most leaking taps are straightforward to fix and don’t require professional help. In many cases, the problem is caused by a worn internal part rather than the tap itself.
This guide explains how to fix a leaking tap step by step, what tools you need, and when replacing a part is the better option.
Why Taps Start Leaking
Taps usually leak because of:
- Worn internal cartridges or washers
- Limescale build-up
- Loose internal components
- General wear over time
Modern taps often use cartridges, while older taps may use washers. Both can fail after years of use.
What You’ll Need
Most leaking taps can be fixed with basic tools:
- Adjustable spanner
- Flat-head screwdriver or Allen key
- Cloth or towel
- Replacement washer or cartridge (if needed)
Before starting, place a towel in the sink to prevent small parts from falling down the plughole.
Step-by-Step: How to Fix a Leaking Tap
Step 1: Turn Off the Water Supply
- Locate the isolation valves under the sink
- Turn them clockwise to shut off the water
- Turn the tap on to check the water is fully off
If there are no isolation valves, you may need to turn off the main water supply.
Step 2: Remove the Tap Handle
- Look for a small cover cap on the handle
- Remove it to access the screw underneath
- Unscrew and lift off the handle
Some taps use an Allen key instead of a screwdriver.
Step 3: Access the Internal Cartridge or Washer
- Use the spanner to loosen the tap housing
- Carefully remove the cartridge or valve
Take note of how the parts are fitted so you can replace them correctly.
Step 4: Check for Damage or Wear
Inspect the internal part for:
- Cracks
- Worn seals
- Limescale build-up
If the part looks damaged or heavily worn, replacing it is usually the best option.
Step 5: Replace or Refit the Part
- Fit the new cartridge or washer
- Make sure it sits securely
- Reassemble the tap in reverse order
Avoid overtightening, as this can cause damage.
Step 6: Turn the Water Back On and Test
- Slowly turn the water supply back on
- Open the tap and check for leaks
- Tighten gently if needed
If the tap no longer drips, the repair is complete.
What If the Tap Is Still Leaking?
If tightening or cleaning doesn’t work, the internal cartridge may be worn beyond repair.
In this case, replacing the cartridge is usually:
- Cheaper than replacing the whole tap
- Quicker than repeated fixes
- More reliable long-term
When Replacing the Tap Makes More Sense
You may need a new tap if:
- The tap body is cracked
- Threads are damaged
- Multiple parts are failing
- Replacement parts are unavailable
Otherwise, most leaks can be fixed with a simple internal replacement.
Final Thoughts
Fixing a leaking tap is a manageable DIY job for most homeowners and renters. Taking time to identify the cause and replace worn parts usually solves the problem quickly.
If the leak keeps coming back, replacing the internal cartridge is often the most effective next step.