Introduction
At first glance, draughts and condensation can seem like separate problems.
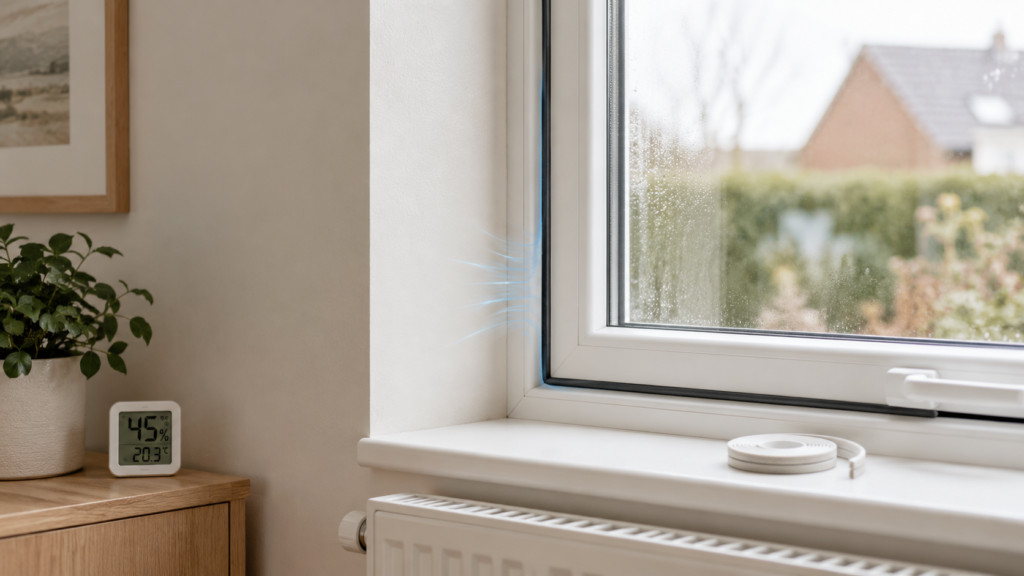
One makes a room feel cold. The other makes surfaces feel damp. But in many UK homes, the two are more connected than people realise. A room with cold draughts often has colder wall surfaces, colder window edges and more uneven temperatures. Once those surfaces get cold enough, moisture in the air is more likely to condense on them.
That is why sealing the right draughts can sometimes reduce condensation as well as improve comfort. The important phrase there is the right draughts. Good draft-proofing can help warm surfaces and reduce cold air movement. But sealing the wrong things, such as useful ventilation routes, can trap humidity and make condensation worse.
This guide explains why sealing draughts can reduce condensation, where that usually works best, and how to avoid making a damp home more sealed but less healthy. A simple “helpful sealing vs harmful sealing” section is included because that is the decision point that matters most.
If you are not sure whether your home’s airflow problems are really unwanted draughts or useful ventilation, read Draughts vs Ventilation – What Should You Actually Seal? alongside this article.
Why This Happens
Condensation forms when warm moist air touches a surface that is cold enough for moisture to turn back into water.
That means condensation is affected by three main things:
- how much moisture is in the air
- how cold the surfaces are
- how much cold air is moving across or into the room
This is where draughts come in.
Unwanted draughts can make condensation worse by:
- cooling down windows and wall edges faster
- lowering room temperature unevenly
- creating colder corners and cold spots
- making the house feel damp even when the moisture source is ordinary daily living
- encouraging occupants to shut rooms up too tightly later without proper ventilation planning
In many homes, especially older UK homes, cold air around windows, doors and floors contributes to the exact kinds of chilled surfaces where mould and moisture begin to show.
If your bedroom walls or window frames are a recurring problem, How to Stop Condensation on Bedroom Walls and How to Stop Black Mould Around Window Frames (UK Guide) are useful examples of how colder surfaces and trapped moisture meet in practice.
Tools or Materials You May Need
To reduce condensation by controlling draughts, you may need:
- Tissue or paper strip for airflow checks
- Sealant or draft-proofing materials only after diagnosis
- New rubber window seals where needed
- Door frame sealing materials
- Dehumidifier if humidity remains high after sealing
- Hygrometer for tracking moisture levels
If you are still finding the actual air leakage routes first, How to Identify Hidden Draughts in Your Home is the right first guide before buying materials.
Helpful Sealing vs Harmful Sealing
Before you start, separate the two.
Helpful sealing
This usually means sealing:
- failed window rubber seals
- gaps around front door frames
- obvious frame perimeter gaps
- threshold leaks
- failed sealant around windows and doors
- floorboard gaps causing clear cold air infiltration
Harmful sealing
This usually means blocking:
- trickle vents
- extractor routes
- air bricks
- intentional background ventilation
- useful moisture escape routes in already damp homes
The first group often reduces condensation. The second group often worsens it.
Step-by-Step Fix
Step 1: Identify where the cold air is really entering
Do not assume every cold-feeling area is a draft-proofing win waiting to happen.
Check around:
- window opening edges
- outer window frames
- front and back doors
- skirting lines on external walls
- thresholds
- loft hatches
- floorboard gaps
You are looking for airflow that cools surfaces unnecessarily. If you have not traced this yet, How to Identify Hidden Draughts in Your Home comes before any sealing work.
Step 2: Understand how the draught is affecting the room
Ask:
- Does the window edge feel much colder than the rest of the wall?
- Is there mould or condensation in the exact area the draught passes through?
- Does the room feel colder in one corner than elsewhere?
- Are the surfaces wet mainly in winter or during windy weather?
These clues often point to a draught-driven cold-surface problem rather than humidity alone.
For example, a bedroom with moderate humidity may still mould badly if one window edge and one external wall corner are being chilled constantly by air leakage.
Step 3: Seal the draughts that are cooling surfaces unnecessarily
This is where sealing can genuinely reduce condensation.
Common examples include:
- worn window gaskets
- cracked frame sealant
- front door frame gaps
- threshold leakage
- localised floor-level air infiltration near external walls
Once those routes are sealed, surfaces often stay:
- slightly warmer
- less exposed to cold air washing over them
- less likely to attract moisture
That is why repairs such as How to Replace Window Rubber Seals, How to Stop Draughts Around Windows, and How to Seal Gaps Around a Front Door Frame often improve both comfort and condensation outcomes.
Step 4: Do not confuse random leakage with proper ventilation
A very common mistake is assuming the house needs to stay “breathing” through failed seals and cracks.
It does not.
Useful ventilation should happen in more controlled ways, such as:
- extractor fans
- trickle vents
- sensible airing
- background airflow where appropriate
Cold air pouring through damaged seals is not good ventilation. It is usually just heat loss and surface cooling.
That is why sealing failed gaps can reduce condensation, while still leaving proper ventilation in place.
Step 5: Keep moisture control in place after sealing
Sealing draughts reduces one part of the condensation problem. It does not eliminate moisture production inside the home.
You still need to control:
- bathroom steam
- kitchen moisture
- indoor clothes drying
- overnight bedroom humidity
- trapped air behind furniture
If you seal the home better but keep generating the same amount of moisture with no sensible escape route, condensation can still occur.
That is why How to Reduce Humidity in a House Naturally is a key supporting guide. Good draft-proofing and good moisture control work together.
Step 6: Monitor whether the surfaces stay warmer and drier
After sealing the right areas, watch whether:
- windows collect less water
- wall corners feel less cold
- mould reduces on the treated side of the room
- the room heats more evenly
- the same surfaces dry faster
In many cases, the improvement is not dramatic overnight, but it is still noticeable over a few colder weeks.
Step 7: Use a dehumidifier if humidity remains high
If the draught repair has improved comfort but the room is still humid, then humidity control remains part of the answer.
That often happens in:
- bedrooms
- rental properties
- homes with indoor laundry drying
- houses with weak bathroom extraction
If that sounds familiar, Do Dehumidifiers Really Stop Mould? and Best Dehumidifier for Condensation in UK Homes are the most relevant next reads.
When This Is Not a DIY Fix
Sealing draughts may not solve the condensation problem properly if:
- there is a direct leak
- the dampness is localised in one fixed patch
- mould is driven by major lifestyle moisture load rather than surface chilling
- the home lacks functional ventilation entirely
- the issue involves structural defects, failed glazing or significant water ingress
If you are unsure whether you are dealing with condensation at all, How to Tell If Mould Is Caused by Condensation or a Leak should be read before assuming draft-proofing is the answer.
How to Prevent the Problem
The best long-term result comes from combining:
- sealing the right draughts
- preserving useful ventilation
- reducing indoor humidity
- keeping surfaces from becoming unnecessarily cold
- dealing with condensation early before mould takes hold
This is especially important in homes where people have tried to choose between “warm” and “ventilated” as if they are opposites. In reality, the goal is a home that is better sealed against unwanted cold air while still vented enough to manage moisture.
Quick Checklist Summary
- Unwanted draughts can increase condensation by making surfaces colder
- Sealing failed seals and frame gaps can help keep walls and windows warmer
- Random leakage is not the same as healthy ventilation
- Do not block trickle vents, air bricks or extractor routes blindly
- Good draft-proofing reduces heat loss and can reduce surface condensation
- Moisture control still matters after sealing
- The best result comes from sealing the right gaps and ventilating the right rooms
Related Guides
- Draughts vs Ventilation – What Should You Actually Seal?
- How to Identify Hidden Draughts in Your Home
- How to Stop Draughts Around Windows
- How to Replace Window Rubber Seals
- How to Seal Gaps Around a Front Door Frame
- How to Reduce Humidity in a House Naturally
- How to Tell If Mould Is Caused by Condensation or a Leak