Introduction
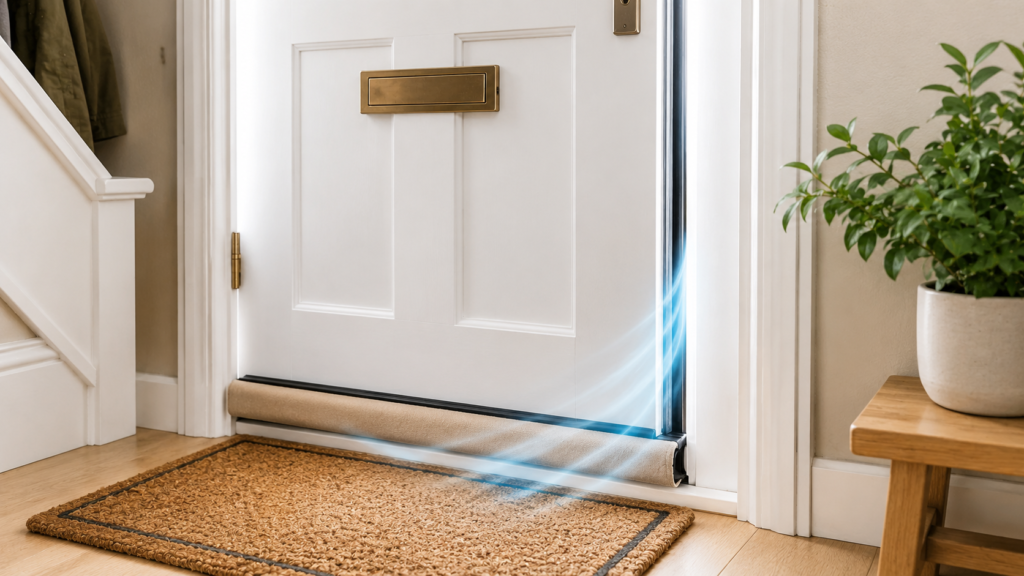
A front door draught can make the entire entrance area feel colder than the rest of the house. Even a fairly small leak around the door can chill the hallway, make nearby rooms feel less comfortable, and create the sense that the heating is never quite catching up.
The reason front door draughts are so frustrating is that the cold air is not always coming from the place people first assume. It may be under the door, around the sides, along the top edge, around the outer frame, through the threshold, or caused by the door no longer pulling tightly into its seals. That is why random fixes often disappoint. A bottom excluder does very little if the frame gap is the real problem. New weatherstripping does very little if the door has dropped and is not compressing properly.
This guide explains how to stop a draught from a front door properly, starting with diagnosis and then moving through the most useful fixes. A simple leak-location section is included first because identifying the exact air route is the step that saves the most wasted time and money.
If you suspect the hallway has more than one cold-air problem rather than the front door alone, How to Identify Hidden Draughts in Your Home is the best wider check to use alongside this guide.
Why This Happens
Front door draughts usually happen because one of the sealing routes around the door is no longer doing its job.
Common causes include:
- a gap under the door
- worn or flattened door seals
- gaps around the frame
- poor threshold sealing
- letterbox leakage
- a uPVC door that has shifted slightly and no longer compresses the seal properly
- shrinkage or failure in old perimeter sealant
Because the front door connects directly to outside conditions, even a modest gap here can feel much worse than a similar gap elsewhere in the house.
If the front door is uPVC and the draught feels strongest around the shut line rather than under the door, How to Adjust uPVC Door Hinges to Stop a Draught may become relevant quite quickly.
Tools or Materials You May Need
Depending on the source of the draught, you may need:
- Tissue or thin paper strip
- Torch
- Draft excluder for the bottom edge
- Replacement weatherstripping or seal where appropriate
- Sealant for frame gaps where appropriate
- Screwdriver or adjustment tools
- Cloth for cleaning surfaces before fitting draft-proofing
If the problem turns out to be at the bottom edge, Best Draught Excluder for Front Doors is the most relevant product guide. If the side or top seals are worn, Best Weatherstripping for uPVC Doors is the better buying companion.
Where Is the Air Coming In?
| Draught Location | Better First Product Direction | Why |
|---|---|---|
| Under the front door | Bottom excluder or threshold-focused product | Most direct match |
| Around sides and top shut line | Door seal or weatherstripping | Excluder underneath will not solve it |
| Around outer frame | Frame sealing repair | Different problem entirely |
| Letterbox area | Letterbox-specific draught solution | Targeted fix needed |
| Whole door feels loose or badly compressed | Alignment or sealing issue first | Product alone may not solve it |
Before buying anything, test the door and identify the actual route.
This step matters because the wrong product on the wrong part of the door usually gives a weak result.
Step-by-Step Fix
Step 1: Test the front door slowly
On a cold or windy day, move your hand slowly around:
- the bottom edge
- the lock side
- the hinge side
- the top edge
- the frame perimeter
- the letterbox area
Use tissue if needed to confirm movement.
You want to know whether the cold air is coming:
- through the shut line
- under the door
- around the frame
- through hardware
This is the point where many people realise their “front door draught” is not actually one problem but two.
Step 2: Fix bottom-edge draughts first if the air is clearly under the door
If the cold air is strongest at the lower edge, the most useful first fix is usually a bottom-edge draft solution rather than seal replacement higher up.
That could mean:
- a fitted bottom seal
- a brush or sweep-type excluder
- a threshold-focused product
- a temporary twin-fabric excluder while testing what works
If this is clearly the main leak route, Best Draught Excluder for Front Doors is the direct product guide to use next.
Step 3: Check the side and top seals
If the draught is around the shut line rather than underneath, inspect the existing seals.
Look for:
- flattening
- shrinkage
- cracks
- brittle areas
- poor contact when the door closes
- sections that no longer compress evenly
A worn seal is often a straightforward cause of side or top-edge draughts. For uPVC doors, the right solution is usually the correct replacement seal rather than generic foam strips. Best Weatherstripping for uPVC Doors becomes the key buying guide in that situation.
Step 4: Check whether the door is pulling tightly into the seals
Sometimes the seals are not the whole problem. A uPVC front door may be slightly out of position, which means it closes but does not compress the seal properly anymore.
Common clues include:
- the draught improves if you pull the door inward
- one side seals better than the other
- the handle or lock side feels slightly loose against the frame
- the gap pattern looks uneven
If that sounds familiar, How to Adjust uPVC Door Hinges to Stop a Draught is the correct next article, because a new seal alone may only partly help.
Step 5: Seal frame gaps if the air is coming around the outer edge
If the air is not actually coming through the door shut line but around the outer frame, the fix is different.
Check for:
- cracked old sealant
- gaps between frame and wall
- trim lines with clear leakage
- cold air strongest around the perimeter rather than the door leaf itself
In this case, How to Seal Gaps Around a Front Door Frame is the more relevant repair guide than door-bottom or weatherstripping products.
Step 6: Do not forget the letterbox
Some front door draughts are made much worse by a loose or weak letterbox area. This is easy to overlook because the rest of the door may be reasonably sealed.
If the hallway still feels cold after treating the obvious routes, check the letterbox area too before assuming the fix failed.
Step 7: Recheck the entrance area after each fix
Once you have improved the strongest leak route, test the hallway again.
Look for:
- reduced cold air on the treated edge
- whether a second leak route is now more obvious
- whether the room feels more even in temperature
- whether the discomfort was really caused by the front door alone
This is a useful step because many entrance areas suffer from a combination of:
- bottom-edge leakage
- frame gaps
- seal wear
- nearby floor-level draughts
When This Is Not a DIY Fix
You may need to go beyond normal draft-proofing if:
- the frame is loose
- the door has dropped badly
- there are major installation gaps
- water ingress is also present
- the threshold is damaged rather than simply unsealed
- the air route seems linked to larger defects than everyday wear
If the hall still feels cold after you improve the door, How to Stop Cold Air Coming Through Floorboards and How to Draught-Proof a Loft Hatch can be relevant companion checks, especially in older homes where entrance discomfort comes from more than one direction.
How to Prevent the Problem
To stop front door draughts getting worse again:
- inspect seals before winter
- replace damaged weatherstripping early
- keep bottom-edge products fitted correctly
- check frame sealant periodically
- do not ignore a door that starts feeling loose against the seal
- deal with alignment changes before they become major
The best front door draft-proofing is usually not one dramatic product. It is keeping the whole door system sealing properly at the bottom, around the edges and at the frame.
Quick Checklist Summary
- Confirm exactly where the cold air is entering before buying products
- Use a bottom excluder only if the lower edge is the true leak route
- Check side and top seals for wear if the draught is around the shut line
- If the door seals better when pulled inward, look at alignment and hinge compression
- Treat frame gaps differently from door-leaf gaps
- Re-test the door after each fix because front door draughts often have more than one source
Related Guides
- How to Stop Draughts in Your Home (UK Guide)
- How to Identify Hidden Draughts in Your Home
- How to Adjust uPVC Door Hinges to Stop a Draught
- How to Seal Gaps Around a Front Door Frame
- Best Draught Excluder for Front Doors
- Best Weatherstripping for uPVC Doors
- How to Stop Cold Air Coming Through Floorboards