Introduction
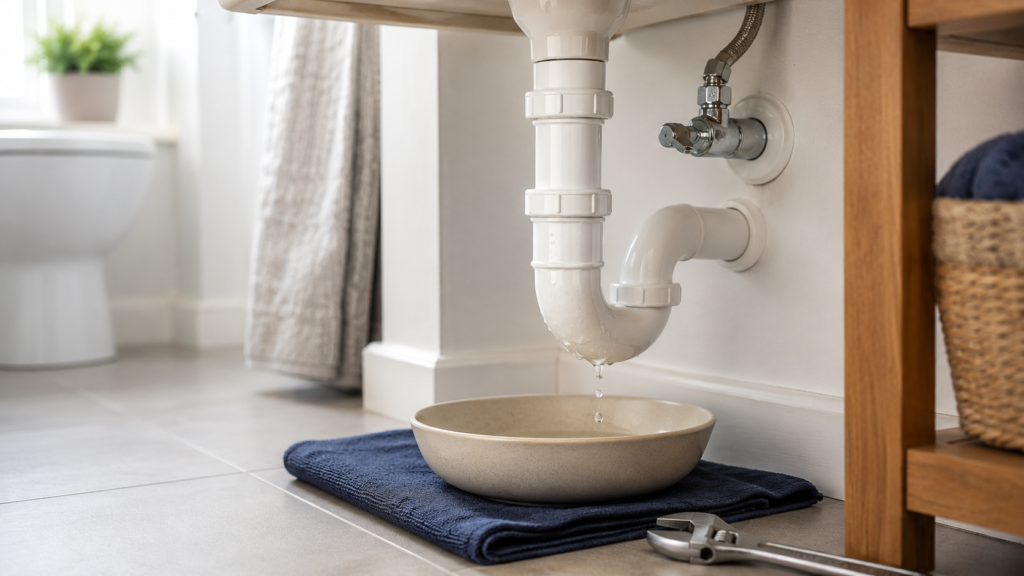
A leaking bathroom waste trap is one of those plumbing problems that usually starts small. You notice a damp patch in the cabinet, a drip on the floor under the basin, or a musty smell that keeps returning even though the sink itself seems fine.
The good news is that many waste trap leaks are straightforward to diagnose and often fixable without replacing the whole sink or calling a plumber immediately. The less good news is that people often tighten the wrong joint, blame the wrong part, or assume the trap itself is cracked when the real issue is a seal, alignment problem or badly fitted connection.
This guide explains how to fix a leaking bathroom waste trap step by step, including how to work out where the leak is actually coming from, what you can safely tighten or refit, and when a full trap replacement is the better move. A quick leak-location section is included because it is the fastest way to avoid wasting time on the wrong part of the assembly.
If the wider bathroom has several plumbing issues rather than one obvious trap leak, How to Fix Common Bathroom Plumbing Problems (UK Guide) is the main cluster hub to keep alongside this repair.
Why This Happens
A bathroom waste trap usually leaks for one of a small number of reasons:
- a compression nut has loosened
- a washer or seal is worn, twisted or sitting badly
- the trap has been knocked out of alignment
- the basin waste fitting above is leaking and dripping onto the trap
- the trap body is cracked
- the trap was badly assembled or disturbed during cleaning
Because the trap sits below the basin and connects several parts together, the leak you see is not always from the exact place you first notice water. A drip at the bottom of the trap may actually start higher up at the waste fitting or one of the side joints.
If the problem is poor drainage rather than leaking, How to Unblock a Bathroom Sink (Without Chemicals First) is the better first guide.
Tools or Materials You May Need
For most waste trap leak repairs, you may need:
- Bucket or bowl
- Old towels or cloths
- Adjustable spanner
- Rubber gloves
- Replacement trap washers if needed
- New waste trap if the old one is cracked or poor quality
- Torch for checking hidden drips
If the trap needs replacing rather than re-sealing, Best Waste Trap Kits for Bathroom Sinks (UK) is the most relevant product guide.
Find the Leak Before You Tighten Anything
Before undoing or tightening parts, check where the water is actually coming from.
| Leak Location | Most Likely Cause |
|---|---|
| At the top where the trap meets the basin waste | Loose or mis-seated connection, worn washer, leaking waste fitting |
| At a side compression joint | Loose nut, poor alignment, worn washer |
| From the bottom or body of the trap | Crack, split or damaged trap |
| Water running down from above the trap | Basin waste fitting or another higher connection leaking |
| Only leaks while the basin is draining | Joint seal or trap connection issue |
| Damp all the time, even when unused | Slow seep from a connection or another nearby plumbing source |
This step matters because a lot of bathroom trap “repairs” fail simply because the wrong joint was tightened.
Step-by-Step Fix
Step 1: Dry everything first
Before you can identify the leak properly, dry the whole area.
Use a cloth or towel to wipe:
- the trap body
- the nuts and joints
- the underside of the basin waste
- nearby pipework
- the cabinet base or floor beneath
You need a clean, dry starting point so you can see fresh water appearing from the true source.
Step 2: Run the tap and watch carefully
Once the area is dry, run the tap and watch the trap closely with a torch if needed.
Check whether the leak appears:
- immediately when water starts flowing
- only after the basin begins to empty
- only when the sink is full and draining quickly
- slowly from one connection
- from above the trap rather than the trap itself
This tells you whether the issue is:
- a drainage-path leak
- a static seep
- a connection above the trap
- a cracked trap body
If the water seems to be coming from the sink waste fitting rather than the trap, the fix may be higher up than expected.
Step 3: Check the obvious compression joints first
Many bathroom waste trap leaks come from joints that have loosened slightly over time or were never aligned properly.
Typical check points include:
- the trap connection to the basin waste
- the outlet side connection to the wall pipe
- any adjustable sections on the trap
- removable cleaning sections on bottle traps
Try gently tightening the suspect compression nut by hand first. If it already feels hand-tight, use a tool carefully for a very small extra adjustment if needed.
Do not overtighten. This is one of the easiest ways to distort a washer or damage plastic fittings.
Step 4: Undo and inspect the leaking joint if tightening does not solve it
If the joint still leaks, place a bucket underneath and undo the suspect connection carefully.
Look for:
- twisted washer
- missing washer
- flattened or damaged seal
- cross-threading
- debris caught in the connection
- alignment that pulls the joint sideways when tightened
Often the leak is caused less by “a loose trap” and more by a seal that is not sitting squarely.
Step 5: Re-seat or replace the washer
If the washer is damaged, worn or misshapen, replace it.
If it looks sound but was sitting badly, refit it correctly and make sure the parts align naturally before tightening the nut again.
This step is where a lot of beginners improve the repair dramatically. A washer that was slightly twisted can leak even when the connection feels tight.
Step 6: Check whether the trap is under strain
A trap that has been forced into position may keep leaking because the joints are under sideways tension.
Check whether:
- the wall outlet lines up naturally
- the basin waste sits square over the trap
- adjustable sections are overextended
- the trap has been twisted to “make it fit”
If the alignment is poor, simply tightening harder usually does not solve the problem. Repositioning or replacing the trap may be the better answer.
Step 7: Inspect the trap body for cracks
If the connections seem sound but water still appears on the body itself, inspect for:
- hairline cracks
- splits near the threads
- impact damage
- old plastic becoming brittle
A cracked trap body usually needs replacement rather than patching.
If that is the issue, Best Waste Trap Kits for Bathroom Sinks (UK) is the best next guide for choosing a replacement that is easier to fit and maintain.
Step 8: Reassemble, test, and then test again under a fuller drain
Once the leak point has been corrected, reassemble the trap and run the sink again.
Test with:
- a gentle flow
- a fuller basin drain
- repeated on/off draining
Some trap leaks only show up when the sink empties quickly and the water load through the trap is higher.
Do not call the job finished after a two-second test.
When This Is Not a DIY Fix
You may need to stop and reassess if:
- the basin waste fitting itself is leaking badly and needs deeper dismantling
- the pipe alignment is poor enough that the trap never sits naturally
- the trap keeps leaking after seal replacement and careful refitting
- the wall pipe connection looks damaged
- there may be more than one leak in the bathroom
- the leak appears linked to hidden pipework rather than the visible trap
If you suspect the water is coming from elsewhere, How to Spot a Hidden Leak in a Bathroom is the most useful next guide before replacing parts unnecessarily.
How to Prevent the Problem
To reduce the chance of the leak returning:
- avoid knocking or storing items against the trap
- do not overtighten plastic joints
- check the trap after clearing blockages or working under the basin
- replace worn washers rather than forcing old ones to seal
- use a better-quality replacement trap if the original feels flimsy or awkward
If the sink also blocks regularly, it is worth reading How to Unblock a Bathroom Sink (Without Chemicals First) because repeated blockages often lead to more trap disturbance and more leaks over time.
Quick Checklist Summary
- Dry the whole area before diagnosing the leak
- Check whether the water is actually coming from the trap or from above it
- Tighten suspect compression joints carefully, but do not overtighten
- If that does not work, undo the joint and inspect the washer and alignment
- Replace twisted, worn or damaged seals
- Check whether the trap body itself is cracked
- Test the repair under both light flow and full-basin drain conditions
Related Guides
- How to Fix Common Bathroom Plumbing Problems (UK Guide)
- How to Unblock a Bathroom Sink (Without Chemicals First)
- Best Waste Trap Kits for Bathroom Sinks (UK)
- Best Adjustable Spanners for Plumbing (UK)
- How to Spot a Hidden Leak in a Bathroom