Introduction
A gap under an internal door can be completely normal, mildly annoying, or a genuine comfort problem depending on the size, the room, and what is happening elsewhere in the house.
Small under-door gaps often help with airflow between rooms, especially where ventilation matters. But if the gap is excessive, it can let too much cold air move between spaces, make hallways and landings feel draughty, reduce privacy, and make heated rooms feel less settled. The key is to fix the gap without disrupting the room’s practical airflow needs or simply fitting the wrong product to the wrong door.
This guide explains how to fix gaps under internal doors properly, how to decide when the gap is actually too big, and which kinds of draft-proofing work best depending on the door and room. A quick “normal gap or problem gap?” section is included because internal door gaps are one of the easiest things to overcorrect.
If the cold air seems stronger at floor level across the room rather than only under the door, How to Stop Cold Air Coming Through Floorboards may be the better first diagnosis guide.
Why This Happens
Internal door gaps vary for several reasons:
- the door was originally hung with a larger clearance
- carpet or flooring was changed at some point
- the door was trimmed too high
- the room relies on some airflow beneath the door
- the house has uneven floors
- the gap has become more noticeable because colder air is moving through nearby spaces
Not every internal door gap is a defect. In bathrooms, utility rooms or rooms affected by ventilation strategy, some under-door clearance may be intentional or at least helpful.
The real problem is usually when the gap is large enough that:
- the room feels noticeably draughty
- heat escapes too easily
- privacy and sound control are poor
- cold air from a hallway or stairwell moves through constantly
If you are unsure whether the gap is the main culprit or just one part of a wider cold-air problem, How to Identify Hidden Draughts in Your Home is the best supporting guide.
Tools or Materials You May Need
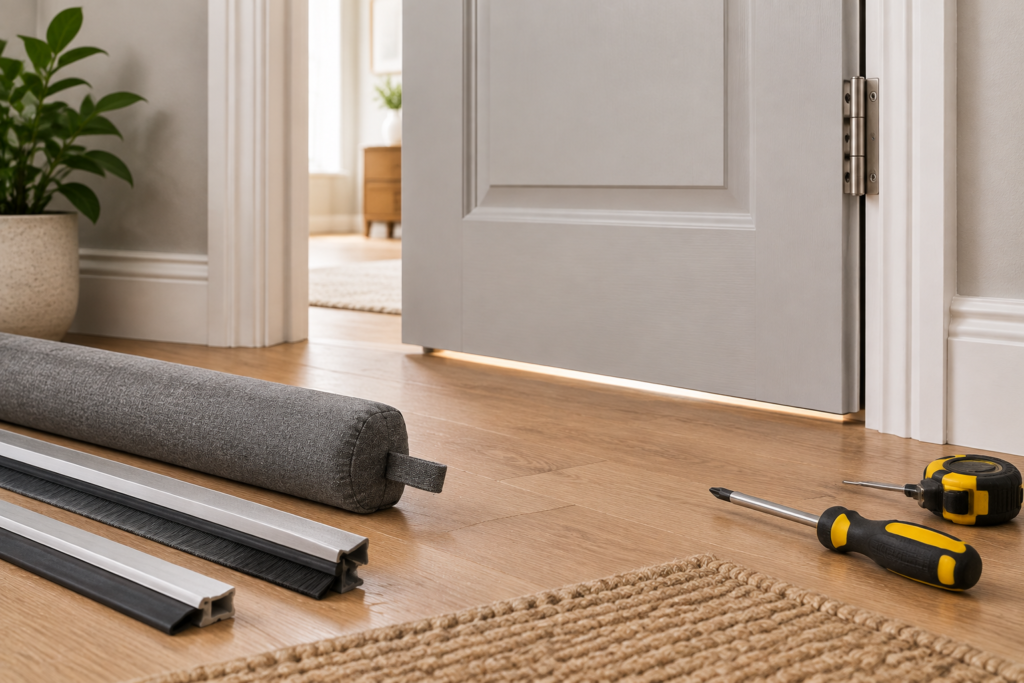
Depending on the door and size of gap, you may need:
- Measuring tape
- Torch
- Self-adhesive draft excluder or brush strip
- Screw-fixed door bottom seal if appropriate
- Cloth and cleaner
- Screwdriver
- Scissors or knife for trimming products neatly
The right choice depends on whether you want a lighter draft reduction, a more fitted door-bottom solution, or a temporary test before committing to something more permanent.
Normal Gap or Problem Gap?
Before fitting anything, decide what kind of gap you are dealing with.
| Sign | What It Suggests |
|---|---|
| Small even gap, no noticeable cold air | Probably normal |
| Large visible gap with clear airflow | Worth fixing |
| Gap only feels problematic in winter | Likely part of wider draught pattern |
| Bathroom or utility door with some airflow need | Do not over-seal without thinking |
| Hallway-to-room airflow is obvious and uncomfortable | Gap is likely too open |
This matters because the best fix is not always “seal it as tightly as possible”.
Step-by-Step Fix
Step 1: Check whether the gap is actually causing the discomfort
Not every visible gap needs attention.
Stand near the door on a colder day and check:
- can you feel air movement through the gap?
- is the room colder near the threshold?
- does the gap connect a warm room to a clearly colder hall, landing or utility area?
- is there a noticeable effect on comfort or heating?
If the door gap is visible but airflow is minimal, it may be less urgent than another problem nearby.
Step 2: Think about the room’s ventilation needs
Before fitting a heavy seal, ask whether the room benefits from some under-door airflow.
This can matter in:
- bathrooms
- utility rooms
- rooms connected to extract ventilation patterns
- spaces where airflow is part of moisture control
This does not mean you should leave a very large gap untouched. It just means you should avoid blindly blocking it without considering whether that room already suffers from condensation or stale air.
If the house is also struggling with condensation, Draughts vs Ventilation – What Should You Actually Seal? is the key supporting article because this is exactly the kind of decision that affects both comfort and moisture.
Step 3: Measure the gap properly
Check whether the gap is:
- even all the way across
- larger on one side
- affected by uneven flooring
- too high for a simple light seal to work well
An uneven gap may suggest the door itself is not hanging squarely, which can change the best fix.
Step 4: Choose the right type of under-door draft-proofing
For most internal doors, the best options are usually:
- a brush or light sweep-style seal for larger gaps
- a simple draft excluder strip for smaller, more uniform gaps
- a more fitted door-bottom product if the gap is clearly excessive and the door use justifies it
The right product depends on:
- gap size
- flooring type
- whether the door needs some airflow retained
- whether you want a visible or less obvious solution
Do not default to the thickest possible seal unless the gap and the room really justify it.
Step 5: Clean the door bottom before fitting anything
Like most self-adhesive or fixed draft-proofing products, these work better on a clean, dry surface.
Wipe the lower edge of the door and the fitting area before installation. That simple step usually improves durability noticeably.
Step 6: Fit the seal neatly and test the door
Once fitted, check that the door:
- opens and closes cleanly
- does not drag badly on the floor
- still functions normally
- reduces the unwanted air movement
- does not make the room feel too sealed if airflow matters there
This is especially important on doors over carpet, rugs or uneven thresholds.
Step 7: Reassess whether the under-door gap was the real issue
Once the gap is improved, test the room again.
If it still feels cold or draughty, the under-door gap may only have been part of the issue. Common related culprits include:
- floorboard draughts
- front door leakage feeding a hallway
- loft hatch leakage affecting landings
- poor window seals in the room itself
That is why internal door draft-proofing works best when it follows proper diagnosis rather than guesswork.
When This Is Not a DIY Fix
You may need to look beyond a simple under-door seal if:
- the floor is badly uneven
- the door is hanging out of square
- the gap is excessive because the door was over-trimmed
- the room has a ventilation requirement you do not want to disrupt blindly
- the draught is actually from the floor or nearby frame, not the gap itself
In those cases, the door-bottom seal may help, but it may not be the full answer.
How to Prevent the Problem
To stop internal door gaps from becoming a bigger comfort issue:
- check them as part of your winter draught review
- treat hall-to-room cold airflow before it affects multiple rooms
- do not over-seal moisture-prone spaces without considering ventilation
- review nearby floor and threshold draughts too
- choose a fitted solution rather than a temporary one if the gap is clearly excessive
Internal door gaps are often not the biggest heat-loss point in a home, but when they connect a colder circulation space to a room you are trying to keep comfortable, they can still make a noticeable difference.
Quick Checklist Summary
- Check whether the under-door gap is genuinely causing airflow and discomfort
- Consider whether the room still needs some airflow for ventilation
- Measure the gap properly before choosing a seal
- Use a suitable door-bottom product rather than the thickest generic option
- Fit it neatly and test whether the door still works smoothly
- Reassess the room after fitting in case the real draught source is elsewhere
Related Guides
- How to Stop Draughts in Your Home (UK Guide)
- How to Identify Hidden Draughts in Your Home
- How to Stop Cold Air Coming Through Floorboards
- How to Draught-Proof a Loft Hatch
- Draughts vs Ventilation – What Should You Actually Seal?
- Why Sealing Draughts Can Reduce Condensation